The Comprehensive Guide To Starting Your Own Book Nooks Assembly Adventure
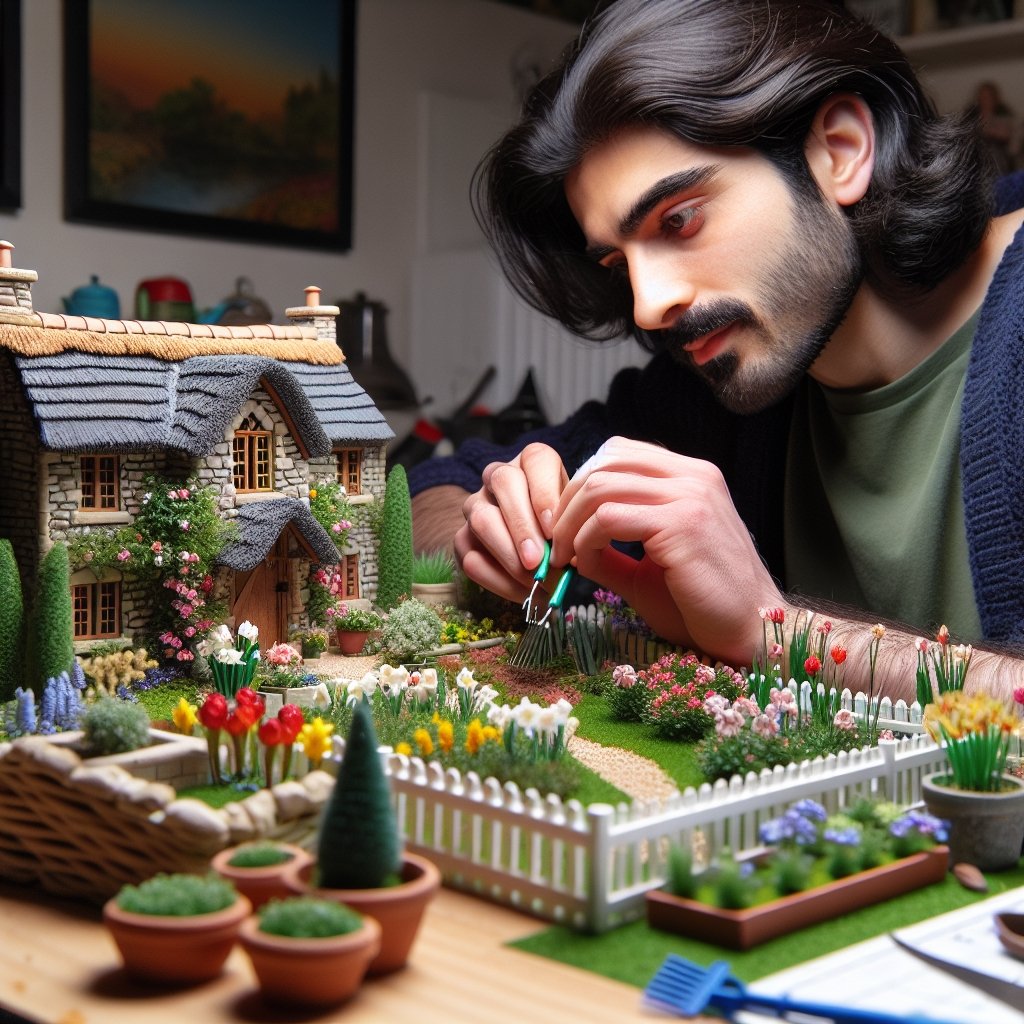
Welcome to our blog, where we bring the magic of miniature to life! Today, we’ll embark on an enchanting journey — unraveling the secrets behind assembling your own book nooks. These tiny alcoves, teeming with imagination and wonderment, are lilliputian paradises waiting to be conceived by you. So, grab your elfin equipment, summon your creativity, and let’s delve into the art of crafting book nooks!
## A Little Introduction to Book Nooks
Book nooks, or bookshelf inserts, are charming micro-worlds that nestle quietly amidst your books. Born out of creativity and characterized by an intricate allure, book nooks transform an ordinary bookshelf into an extraordinary story unfolding in a surreal world, eliciting a sense of surprise and marvel. Whether it’s a serpentine alley of a medieval town or a seaside view at dusk, the possibilities are as boundless as your imagination!

## Tools and Materials: The Nitty-Gritty
Before you dive head-first into constructing your book nook, it’s essential to gather all the necessary tools and materials. Depending on your design, this may vary, but on a general note, your toolkit should comprise of: precision knives, glue, LEDs for lighting, paints, balsa wood or matboard, miniature decor props, and, your artistic spirit, of course!

## Planning Your Book Nook: The Blueprint
The brilliance of a book nook lies in its meticulous detail and creative concept. Keep in mind the size of your bookshelf while scaling your book nook. Sketching out a blueprint of your idea would serve as a tangible roadmap to guide your process.

## The Magical Assembly
Akin to walking through a mystical portal, you embark on assembling and bringing to life your miniature world. Here are some general steps to guide your assembly:
- Base: Cut out the base for ease of assembly from a sturdy material like wood or thick cardboard.
- Background and Side Walls: Paint them according to your theme, or coat them with a scenic print. Be it a starry sky or a cobblestone alley; this will form the canvas of your imagination.
- Props Placement: Plan the placement of your unique décor elements. This could be an intricate lamp, a tiny café, or even miniature bicycles; the key here is detail and personalization.
- Lighting: Craft the radiance within your book nook by strategically inserting LEDs, which lend a magical glow to your creation.
- Securing The Assembly: Glue the elements securely together, ensuring they align with your initial blueprint.

## Finishing Touches
Here you amplify the appeal with the final touches. Infuse life into your book nook with subtle nuances that spark intrigue – a small cat perched on a roof, a half-empty coffee cup, graffiti on a wall, the options are endless!
## Your Book Nook: A Tale of Enchantment
Voila! Your imagination has breathed life into an enchanting microcosm. Nestled amidst your favorite books, this unique book nook is a testament to the sheer power of creativity and patience, a captivating spectacle for the eyes.
So in the world of DIY miniatures, book nook assembly is a rewarding journey of creativity and detailing. It requires your ideas, a few tools and materials, and a lot of love. As an exercise in mindfulness and a tribute to creativity, crafting a book nook is truly a mesmerizing experience.

In the following blogs, we will delve even deeper into the nuances of book nook creation and share amazing tips, DIY hacks, and inspirations. Until then, happy crafting you guys!


Post Comment