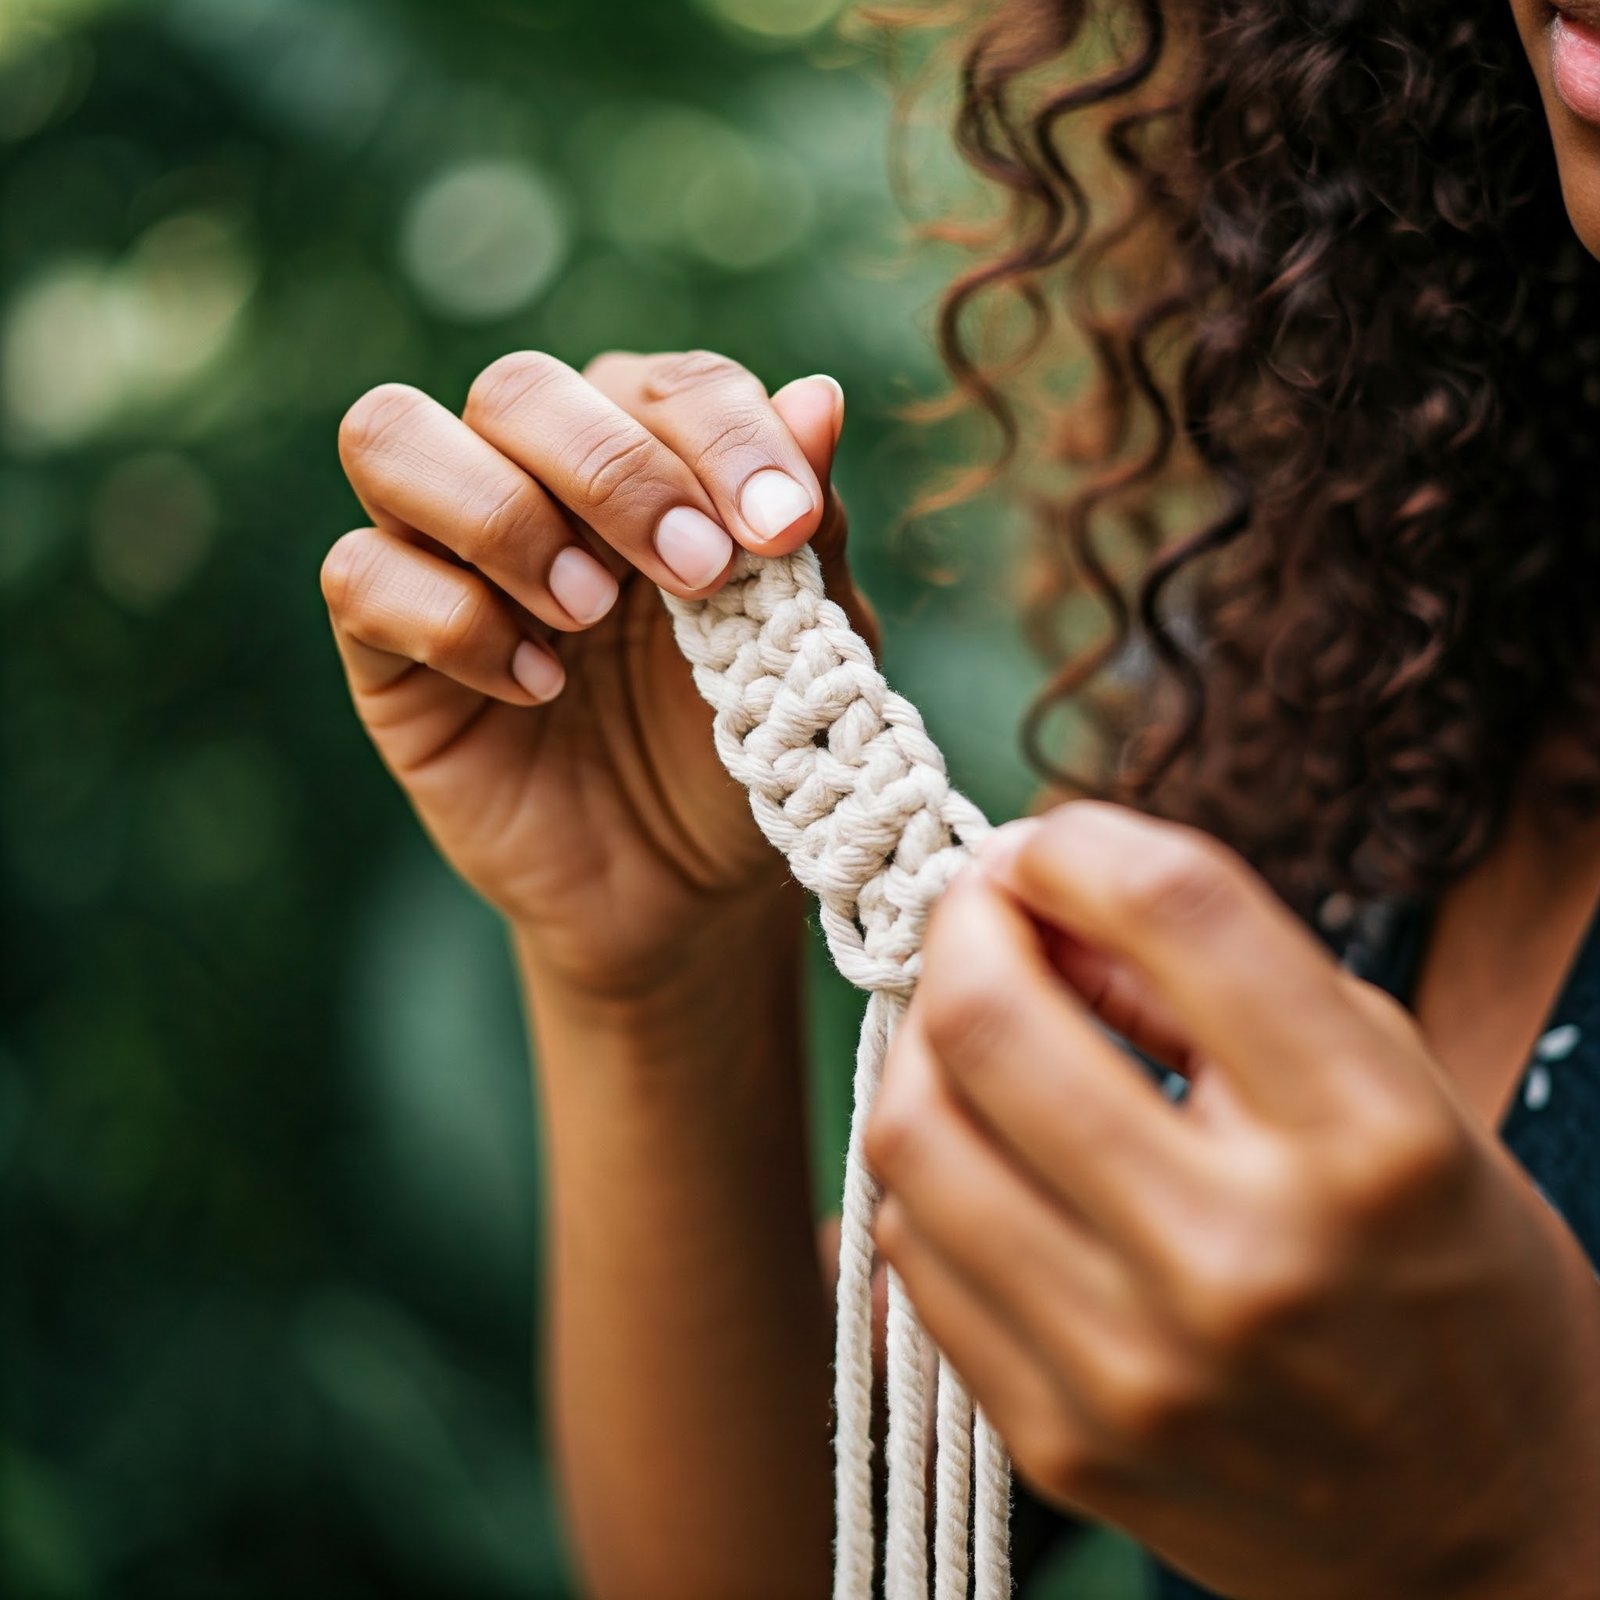
How to Make a Macrame Lanyard: An Easy-to-Follow Guide
A macrame lanyard can be a trendy and functional accessory. It’s a great way to keep your keys or ID cards within reach while making a fashion statement. Here’s a quick walkthrough to help you create your very own macrame lanyard.
Materials Needed:
- Macrame cord
- Keyring
- Scissors
- Measuring tape
Step-By-Step Instructions:
Step 1: Measure Your Cord
Measure out 4 lengths of macrame cord, each about 8 feet long. Fold them in half and group into pairs.
Step 2: Attach to the Keyring
Slip the fold of the first pair of cords through the keyring. Then pull the loose ends through the loop (lark’s head knot). Repeat for the other pairs of cords.
Step 3: Start Knotting
Start with the outermost pair of cords. Take the outer string and cross it over the middle two strings (but under the other outer string). Take the other outer string and do the opposite: under the middle two strings but over the other outer string. Pull them tight together to form a knot. Repeat the process, alternating sides, to create a row of knots.
Step 4: Change Direction
Start a new row of knots in the opposite direction, progressively shortening the rows to form a V-shape.
Step 5: Finish Up
When you’re satisfied with your lanyard, finish it off with a row of backward knot macrame (reverse the steps of the square knots). Then, trim the cords to your desired length and fray the ends for a tassel effect.
Voila, your custom-made macrame lanyard is ready!
Happy macrame-ing!


Post Comment