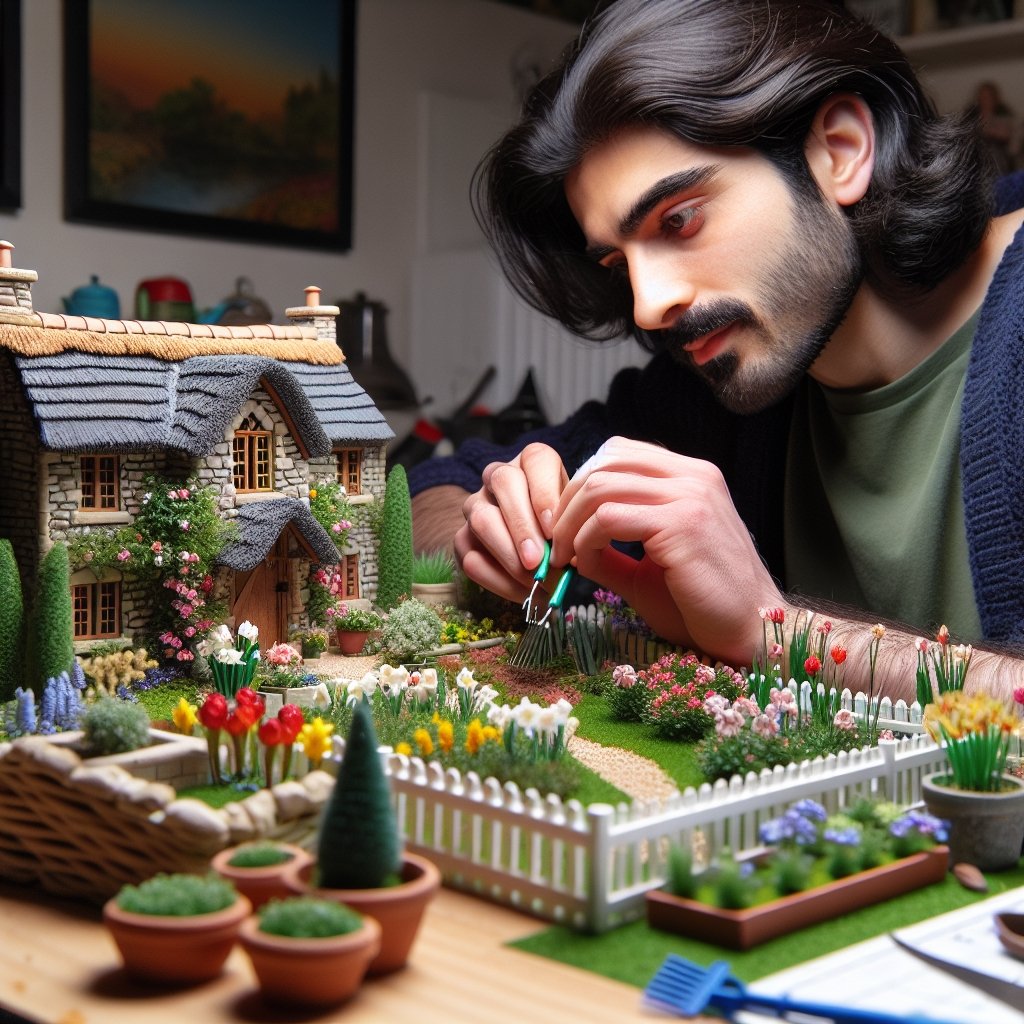
Creating The Ollivanders Wand Shop Diy Book Nook Kit
Welcome to my blog – a sanctuary of my creative journey in the fantastic world of “book nooks”. Today, let’s venture together through my process of creating the “Ollivander’s Wand Shop” book nook!
Setting out to recreate such an iconic Harry Potter location filled me with excitement and anticipation. To give you a visual glimpse of my creative journey, you can check out the short video of LKWood here, they pulled it off really well.
Step 1: Planning and Gathering Materials
First and foremost, it was paramount to develop a detailed plan, to keep the creation process as smooth as possible. I created a material list to ensure I had all the essentials before diving in. Some of the primary structures that I decided to incorporate into the nook were the Ollivanders Wand Shop, with detailed miniature wand boxes, warm inviting street lamps, and an array of captivating books that honor the essence of this mystical wizard location.


Step 2: Structural Formation
Next, it was time to start the construction of the Ollivanders Wand Shop. I used various small wooden blocks to establish the structure. The shop comprised of four main parts: the warehouse at the back, a welcoming window frame, an enticing trellis, and an intricately detailed street lamp. Each element was created with precision, keeping in mind the overall aesthetics of the final design.

Step 3: Painting
Once all the core parts were assembled, it was time for the magical transformation – the painting process. I chose a primary palette of white for the shop while opting for black for the window frame, trellis, and the street lamp. These colors were deliberately chosen to create a stark contrast, resulting in an visually impactful and attractive book nook.

Some new expamles for you guys…


Step 4: Display of Items
After completing the painting, it was time to dress up the scene, bringing life to the Harry Potter universe. I handcrafted miniature books and wands comprising diverse elements to give our Ollivanders it’s enchanting quirk. The placement of each item was carefully chosen to captivate the viewer’s interest, drawing them into this magical world.

Step 5: Final Touches
Lastly, to wrap up the scene, I added impactful details like soft lighting to create a warm, inviting atmosphere. Furthermore, I incorporated elements such as realistic looking stones and grass to the scene to enhance its authenticity.

And there you have it! That’s my process of creating the Ollivander’s Wand Shop book nook. It was a journey filled with creativity, patience, and passion. I sincerely hope this detailed account has given you an in-depth understanding of the magic that lies behind creating such vivid miniature worlds, better known as book nooks. I encourage you all to let your creative spirits fly and take on the exciting challenge of creating your own book nook! Good luck, and remember – the magic lies within you!


Post Comment