Cultivate Creativity With A Paper Rose Tutorial: An Easy And Fun DIY Project
Crafting is not just an expression of creativity; it’s also a therapeutic activity that allows our minds to relax and wander into the realm of colors, shapes, and structures. Among the countless DIY projects, making paper roses tops the chart for being minimalistic, versatile, and immensely satisfying. This blog post will guide you through creating your very own paper roses, adding a DIY touch to your gifts, decor, and craft projects.
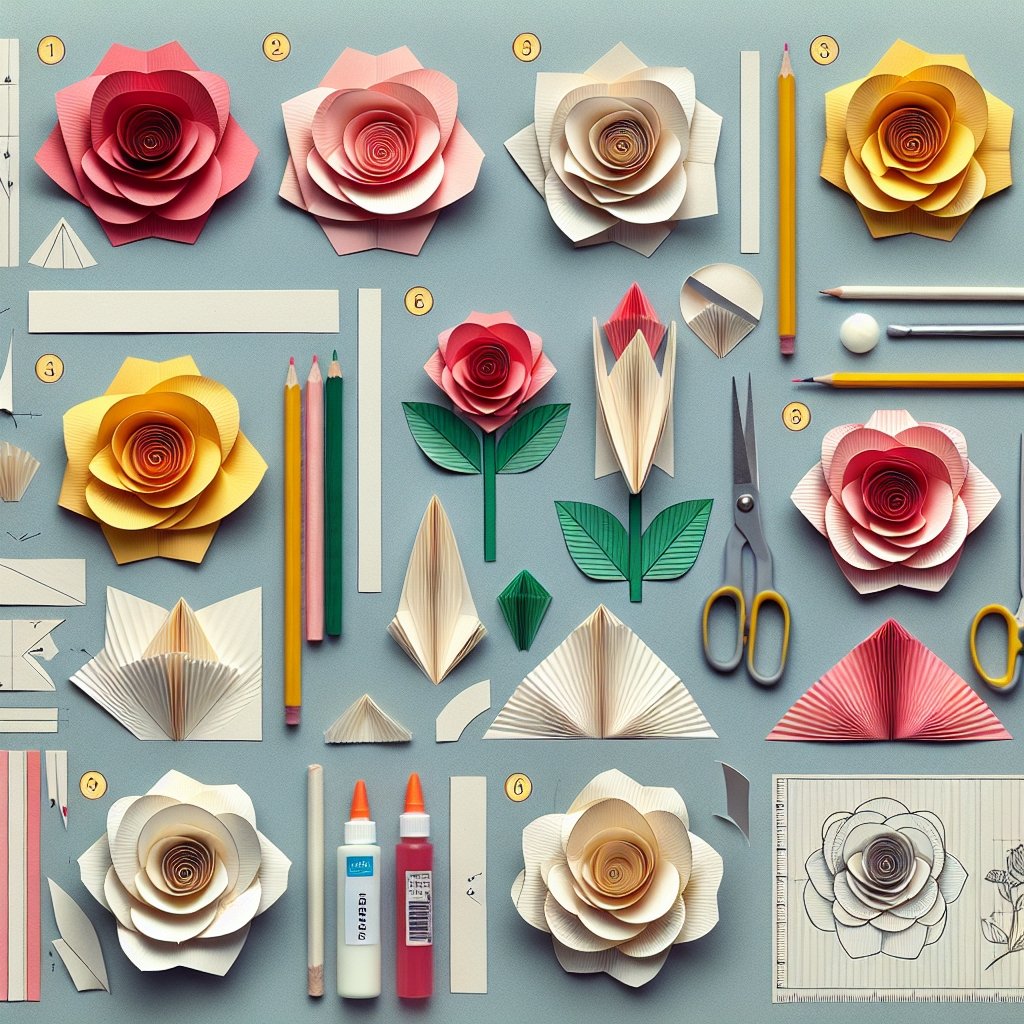
Let’s start with the classic ‘Red Paper Rose’. Inspired by the DIY website, “My Little Project,” this tutorial uses just paper, scissors, and glue. The end result is surprisingly impressive, replicating the elegant look of a rose. We begin with red paper of different shades, cutting them into squares of varying sizes. Every square piece is then individually folded into a petal. Finally, these petals are layered, starting from the smallest to the biggest, mimicking the layers of a blooming rose.

Next up, we have the ‘Rainbow Spiral Paper Rose’. This design is a colorful twist on the classic version, with the finished product resembling a whimsical spiral rose. Here, the recipe requires strips of paper in various colors. The strips are then rolled around a pencil, creating a spiral look. Each spiral is glued together at one end, and as they bloom open, it forms the shape of a rose.
For those who wish to incorporate an earthy touch, the ‘Rustic Newsprint Paper Rose’ tutorial is perfect. An old newspaper or magazine, paint, and glue are all you need for this creative project. The paper is cut and rolled into the rose structure, similarly to the spiral rose. Then it’s painted in a color of your choice, preferably matte, to maintain the rustic appearance.
The ‘Sparkly Glitter Paper Rose’ is for the ones who love a dash of glimmer. This process is similar to the red paper rose but with an added final step of dusting the finished product with glitter. It’s a perfect addition to your festive decorations or a special gift.
Our ‘Tissue Paper Rose’ tutorial is the simplest of them all. Lightweight tissue paper is folded and cut to form petals. These are then layered and fluffed open to create a soft, voluminous rose. It’s delicate and ideal for decorating gifts or cards.
The ‘Origami Paper Rose’ tutorial is for those interested in the art of folding. It requires perfect square pieces of origami paper. The paper is strategically folded to form the petals and the rose bud in the center. This is a slightly advanced project and surely a fulfilling one.
The ‘Giant Crepe Paper Rose’ tutorial is an extravagant project creating an oversized rose. Using crepe paper for its natural wrinkled texture, it’s cut and meticulously formed into a large fluffy rose. It’s perfect as a standalone piece for your living room or a wall arranged with multiple giant roses.
Finally, if the idea of starting from scratch is daunting, the ‘Print and Assemble Paper Rose’ tutorial is perfect for you. There are various printable templates available online, which you can print, cut, and assemble into a stunning 3-D rose.
Each of these tutorials is a fun, engaging, and satisfying project, letting your creativity bloom with the paper roses. They are not only beautiful additions to your decor but also unique, handmade trinkets for your loved ones. So, get your crafting tools ready and let’s start making paper roses!


Post Comment